I found hugelkultur early in my exploration of permaculture. I just did not have the space to implement one. But now that that has changed, I am going to hugel it up.
So basically hugelkultur is a German word for hill culture or hill mound. It is more or less a big mound of wood and dirt. But you can use whatever you got, logs, branches, cardboard, hay, leaves, grass clippings, manure, compost, all add to the wonder of the hugel mound. It was made popular by Sepp Holzer who is huge in the permaculture world and has done amazing things. I would look him up to see what he has accomplished on his property, I can only dream of emulating. The idea is as the wood breaks down it releases a constant long term source of nutrients into the mound making it available for whatever you plant above. Also as an added bonus the wood absorbs and holds onto a lot of water, as the mound ages and the wood starts to break down you’ll need less irrigation. Sweet right? I thought so, so I gave it a shot.
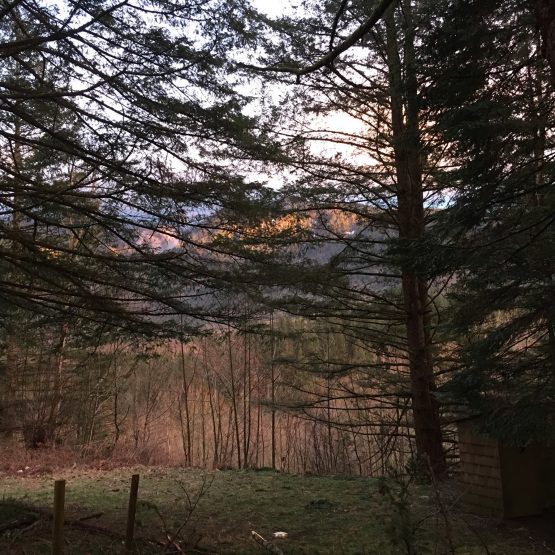
Now real hugel mounds are normally formed above ground and are typically 6 feet high, right now I’m doing all of my mounds by hand so they definitely are not going to be that high. Also I’m incorporating a swale or level ditch on contour, to capture some of the water off of our central trail. So my mound is actually a brim of the swale. So it’s more of a hugel brim. Now I would not suggest doing this on a slope that will see a lot of water. A bunch of loose dirt and wood piled up does not make the best dam, and if you do get a lot of water collecting in your swale you might have the water start eroding through your mound.
What I did to try to combat some of this potential erosion was dig down. This was a lot more work then just burying wood on top, but I also need the dirt I excavated to cover my woody debris. So using a homemade A frame level ( that you can actually see on google earth, when you look at our property) I marked out my level contour line.
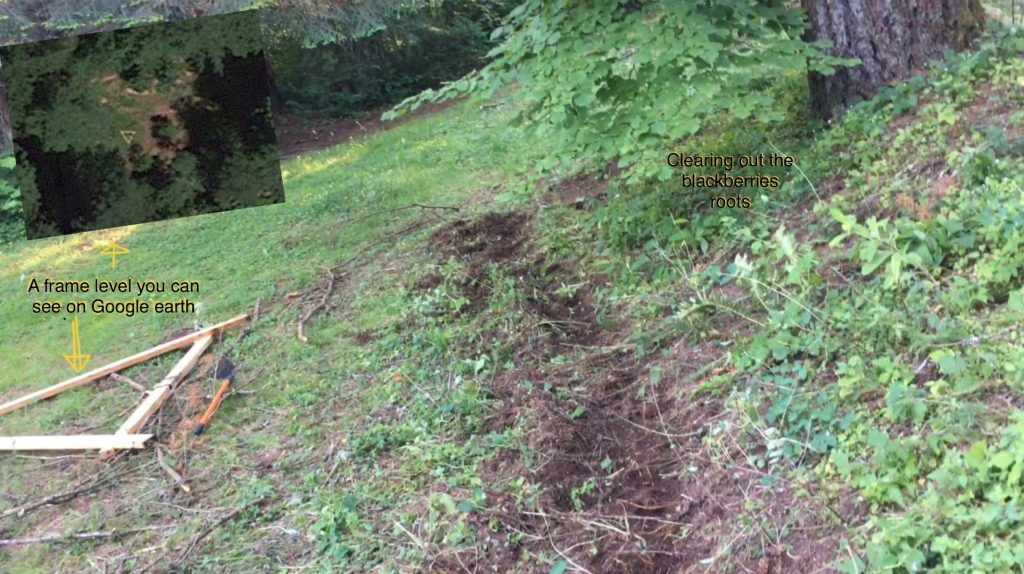

Then comes the fun part digging. Not to brag or anything but I am master digger. Growing up I was fortunate enough to have a cabin at a ski resort. Unfortunately our cabin was lacking a foundation and every year because of the tremendous snow load our cabin was being pushed off it supports. My dad being of the generation that does everything themselves, gave me a shovel and told me to dig a hole 6‘ x 6‘ x 6’ deep, little did I know this was the start of a 5 year digging project, where we dug and poured by hand a section of our foundation every weekend. Did not matter what time of year it was, I was digging. Dirt in the summer, snow in the winter. So when I say I’m a master digger I mean I have definitely put in my hours.
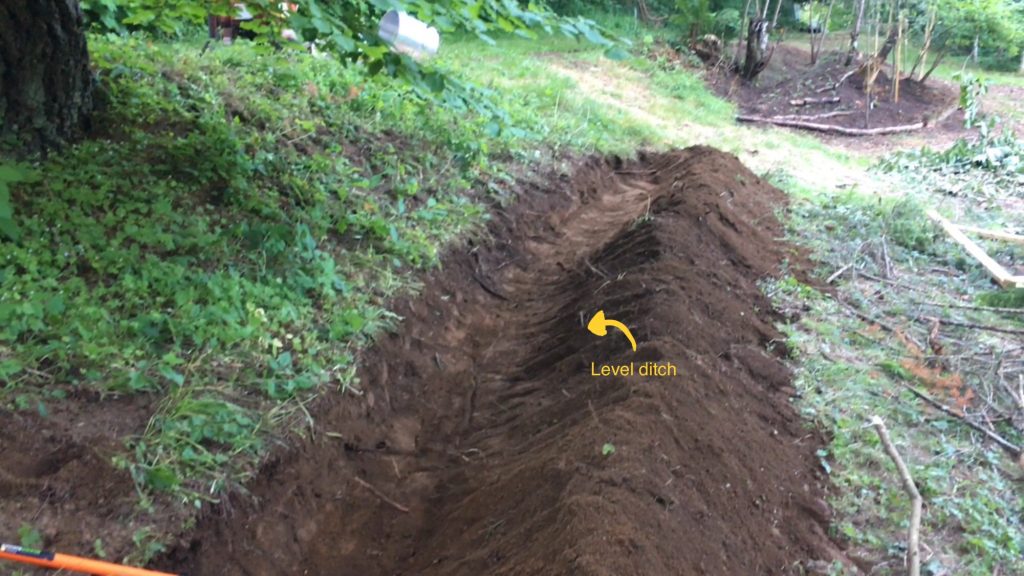
I found digging at the property easy compared to the snow compacted clay of
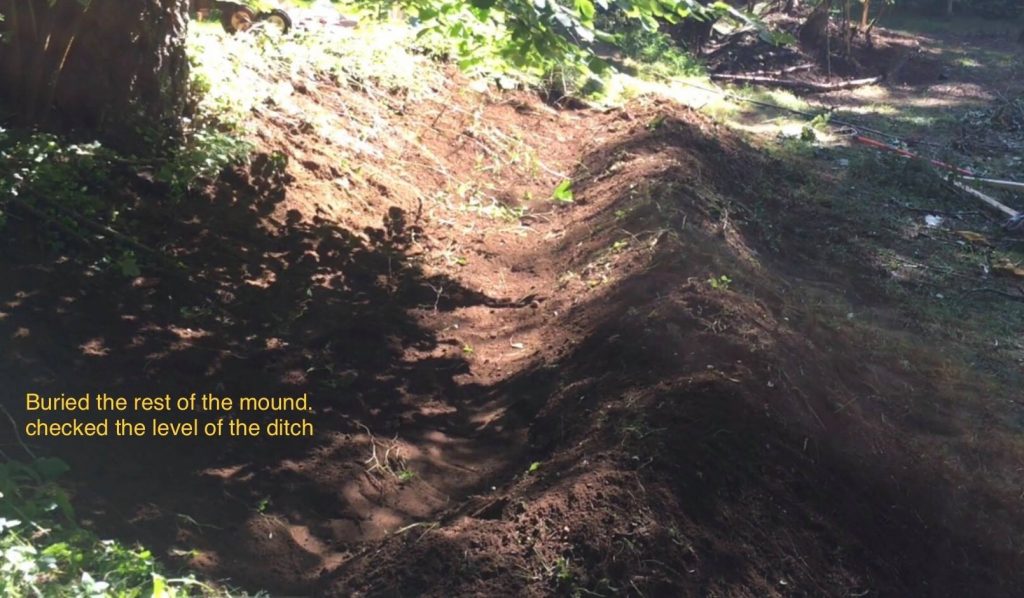
my childhood. After removing a plethora of different blackberry roots, the soil was quite easy to move around. When I completed excavating my ditch and making sure it was level with my A frame, I packed it down, on the bottom and on the down hill side to help with that retention of water. Then came filling my ditch with rotten logs and branches and as much green material as I could gather from my fields of comfrey. Layering as much as possible so wood and branches are always making contact with dirt. It’s easy to create voids in the mound unintentionally overlapping woody material not allowing dirt to fill the cracks. Try your best to avoid the voids, they will eventually fill themselves, but contribute to the failure of the wicking process. So the area above the void will dry out.
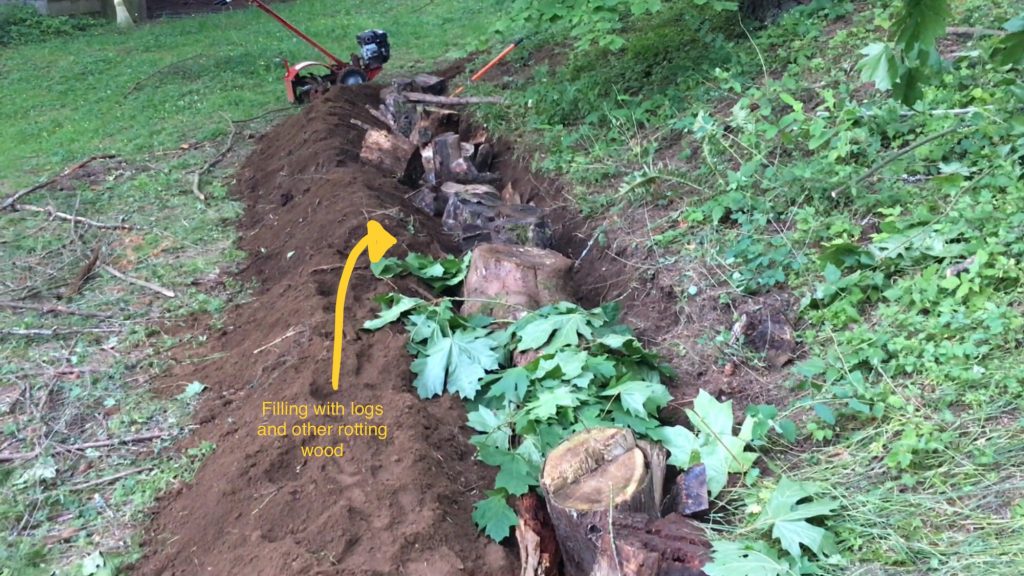
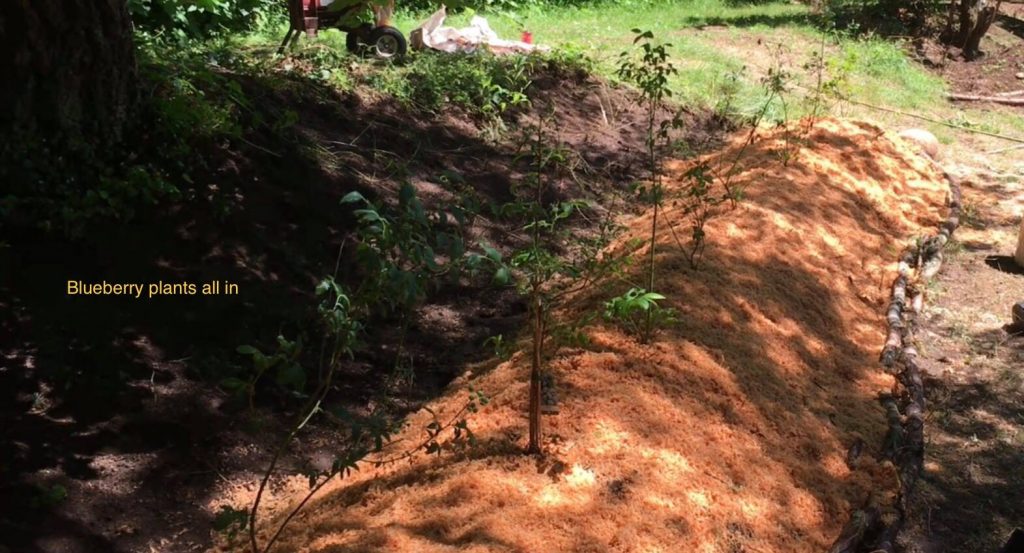
After the mound was all mound up I covered the tops with wood chips to help prevent erosion, aid in some more water retention and block out some of the weeds.
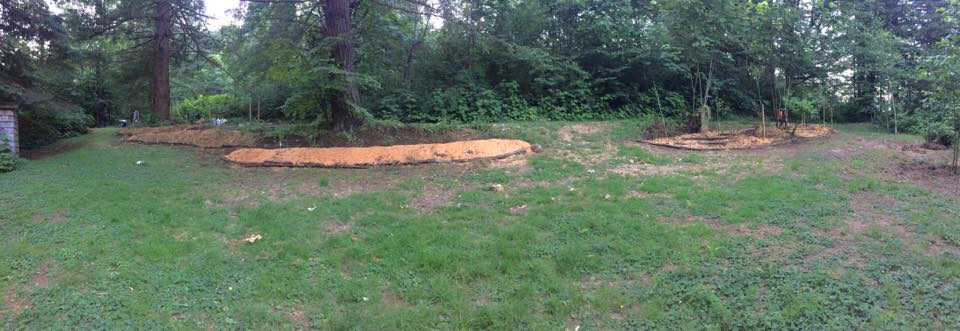
I also seeded the bank coming off the central path with clover, an amazing ground cover and it also helps fix nitrogen. I did this also to prevent erosion of any more of the bank of the pathway.
This method I used is not a traditional hugelkulture but an adaptation using what I had at the time, with the knowledge I had at the time. As we get the opportunity to install more beds on the property, I’m sure my process will evolve. I would like to go bigger. I will revisit this topic in the future, to share the evaluation and the outcome of our new beds. Feel free to contact me with successes or failures you have had with huglekultur, help me keep mounding up that knowledge. Now go play in the dirt.

Jay
(So, this blog should have been posted at least a year ago! We have a bunch of almost done blogs, but, we got behind.)
Design by NXNW.
Elly
August 12, 2018 at 1:27 amThat is so interesting I wish I had some dirt to play in….
Becky
September 12, 2018 at 12:14 amWell come on down anytime to play in ours. 🙂