DIY – Limewash/Whitewashing ~ It’s been done for thousands of years so let’s go back to the basics and discuss lime whitewashing. We didn’t chose to whitewash over paint just for a look. Here are the reasons why Whitewashing made a lot of sense for us to try.
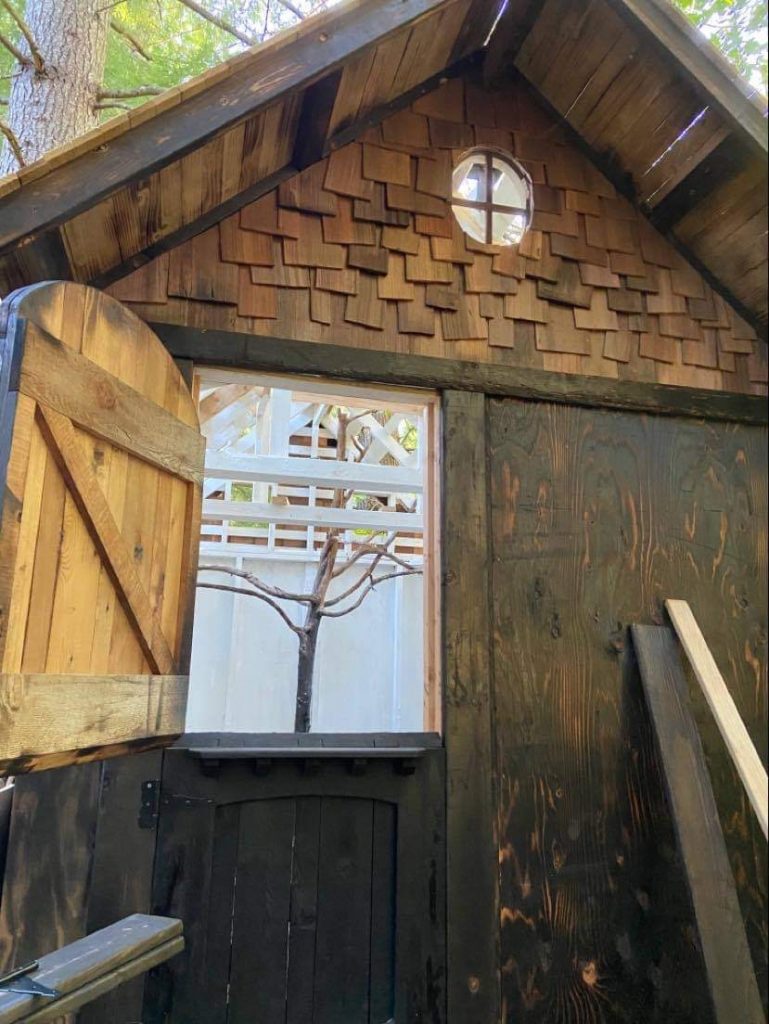
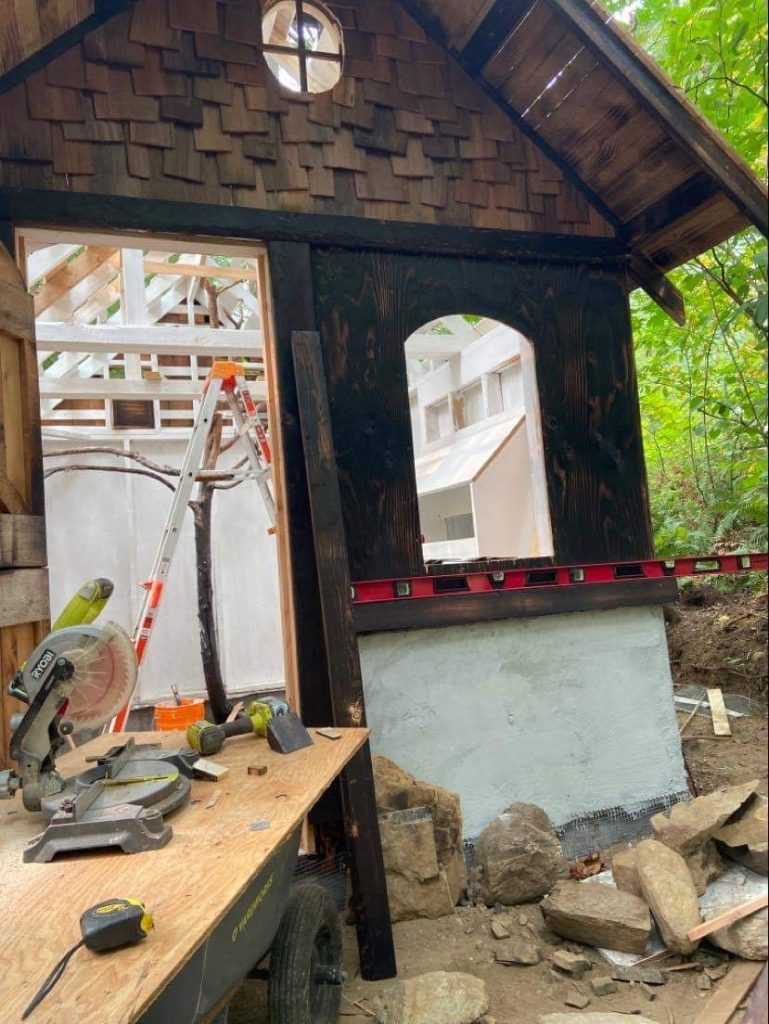
You really notice the contrast of the burned wood versus the bright cherry interior! (Wish it stayed so nice and clean!!!!)
Bright! Though we do have a skylight and will be adding lights (no longer the chandelier though, boo…. as they are always in the rafters) we felt white would give a cleaner, brighter feel.
Antimicrobial properties
Antibacterial
Mildew Prevention
Repels Insects (including those pesky red mites!) lice, bedbugs, fleas etc…
Repels Rodents
Mold Resistant
Non-toxic (still a chemical element though, so you don’t want to inhale the powder!!!)
No VOCS
Very inexpensive
Super easy to do
HOW TO:
The hardest part about whitewashing for me was finding the correct Lyme! After calling the HomeDepot, Lowe’s, Rona etc… I tried a local farm/feed store where I finally found some large bags. It was ridiculously cheap in comparison to a nice quality white paint and one bag would go a lot further than many cans of paint.
Don’t go crazy with exact measurements it’s really not necessary!
INGREDIENTS:
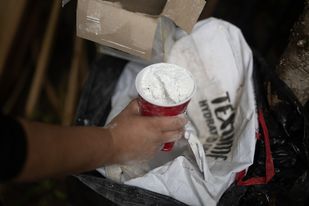
Hydrated Lime (6-8 Cups)
Salt (2 Cups)
Water
OPTIONAL INGEDIENTS:
Colour – I recommend natural pigments that are found in nature such as beet or berry juices. There are also natural coloured pigments you could order in.
TOOLS:
Bucket
Stir Stick
Paint Brushes
SAFETY (PPE):
It is caustic!
Full Length Clothes
Gloves
Safety Googles
Respirator/Mask – You do NOT want to breathe it in, the particles are fine and do create a dust cloud that you do NOT want to inhale into your lungs.
(Yes, you will see pictures of me doing this without the proper PPE…. I don’t always take my own advice. But, I should!)
DIRECTIONS:
6-8 Cups of Hydrated Lime
2 Cups of table salt (I don’t like wasting my Himalayan or other specialty salts for this, so I buy regular table salt just for this as we don’t use it ourselves)
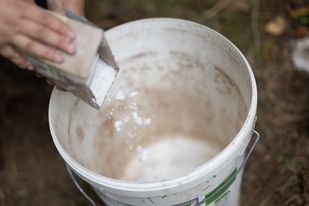
Add enough water to cover all the dry ingredients
Stir
Keep adding water until you have consistency of a batter or looks like milk.
Paint!
First Coat – Jaime my neighbour and I painted it in the dark!
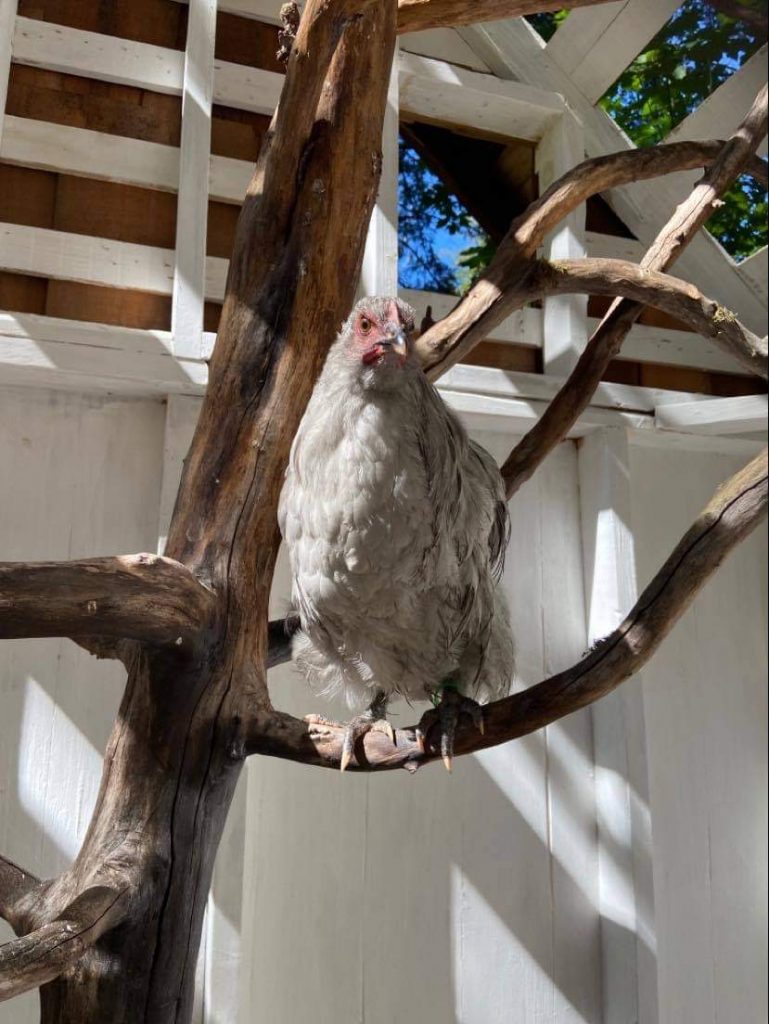
Chicken Bits – trying out her soon to be new roost!
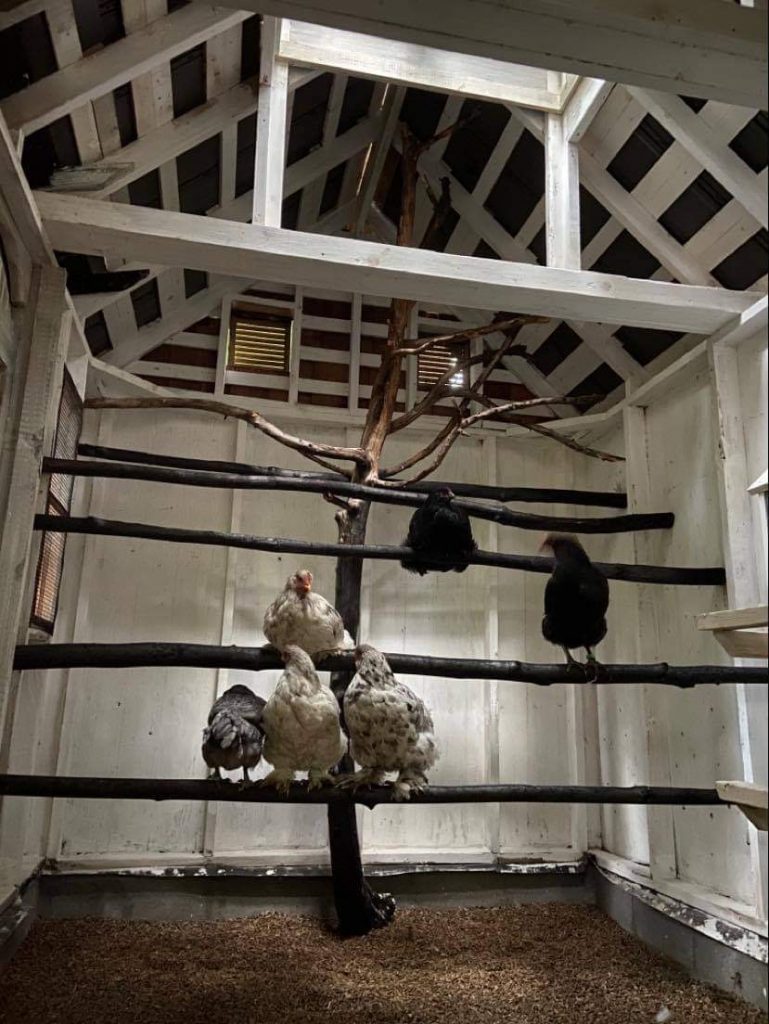
First night in their new coop (no, it wasn’t finished, still isn’t – but completely functional!
TIPS :
Do NOT wear your favourite clothes like I did, it doesn’t just come out in the wash, I had to pick at it and wash it many times… I’m sure someone who actually separates their laundry and used the right techniques would get it out much easier than I did.
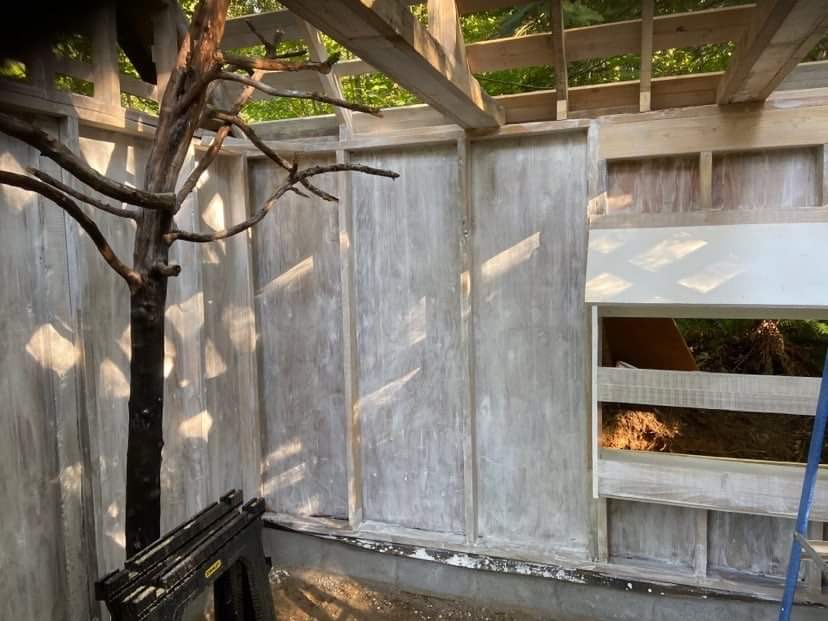
Be Patient!!! As it dries it becomes whiter and whiter.
Choose to paint in warmer or dry periods, As we noticed that it dried much quicker. Once I painted it later at night and because it didn’t have the heat of the day to dry, the morning dew helped it retain the moisture.
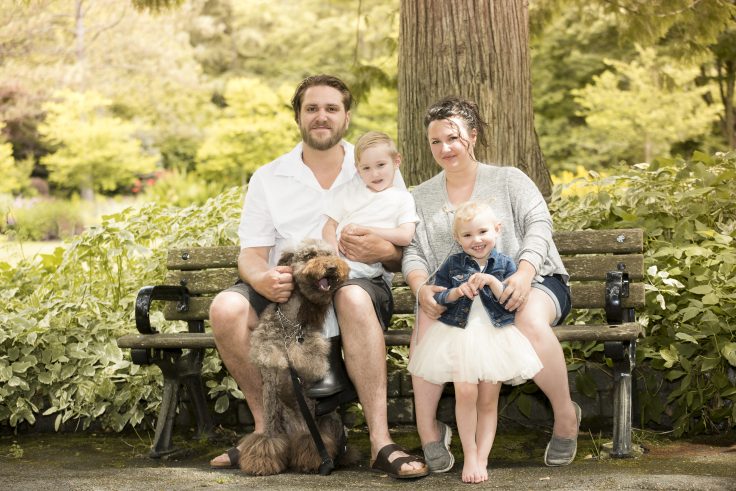
Becky is a Clinical Hypnotherapist, Registered Holistic Nutritionist, Landscape & Production Horticulturist, Arborist and budding Herbalist, who recognizes and specializes in the link between healthy soil, the gut and the brain. She also loves being the mom to her two wild and crazy kids Brooke & Connor whom keep her and her ever loving, creative husband Jay on their toes.
Becky is a Clinical Hypnotherapist, Registered Holistic Nutritionist, Landscape & Production Horticulturist, Arborist and budding Herbalist, who recognizes and specializes in the link between healthy soil, the gut and the brain. She also loves being the mom to her two wild and crazy kids Brooke & Connor whom keep her and her ever loving, creative husband Jay on their toes.
Hi! We're Jay & Becky, our kids Connor & Brooke and our wonderful service dog Oslo. We're building our dream of a spectacular retreat and off-the-grid B&B. The catch is, we want it to have all the luxuries of everyday living just done in a sustainable manner. We just bought the property we need...and now it's time to make our eco-retreat a reality!
This blog will document our journey from getting the acreage, to dealing with some of the hurdles that have changed our lives, to building our dream.