
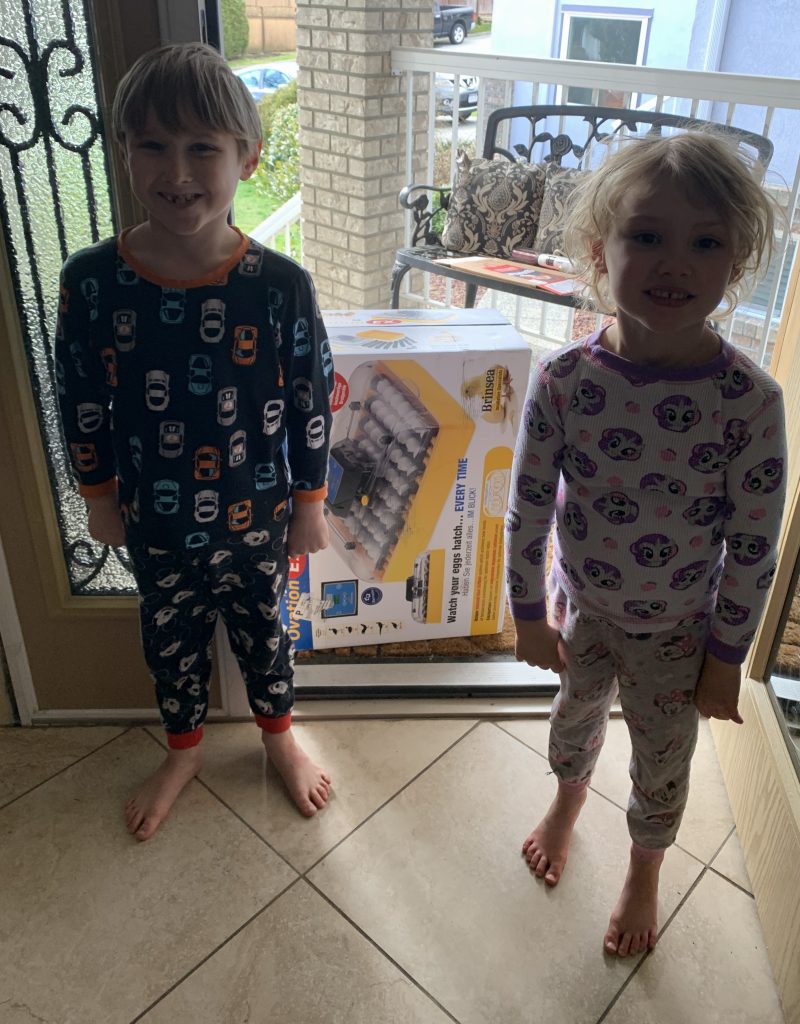
We were going to buy a chicken incubator for the kids for Christmas, but we put it off as we were not quite ready. Little did we know, the pandemic was right around the corner. As soon as we realized we would be homeschooling the kids for the rest of the year and that a component of grade one just happens to be chicks, we decided to take the plunge.
I ordered the Brinsea 56 EX incubator off of Amazon and it arrived quite quickly. Our kids were just thrilled! The incubator was extremely easy to setup. Just don’t throw out the cardboard mat that looks like packaging, whoops.
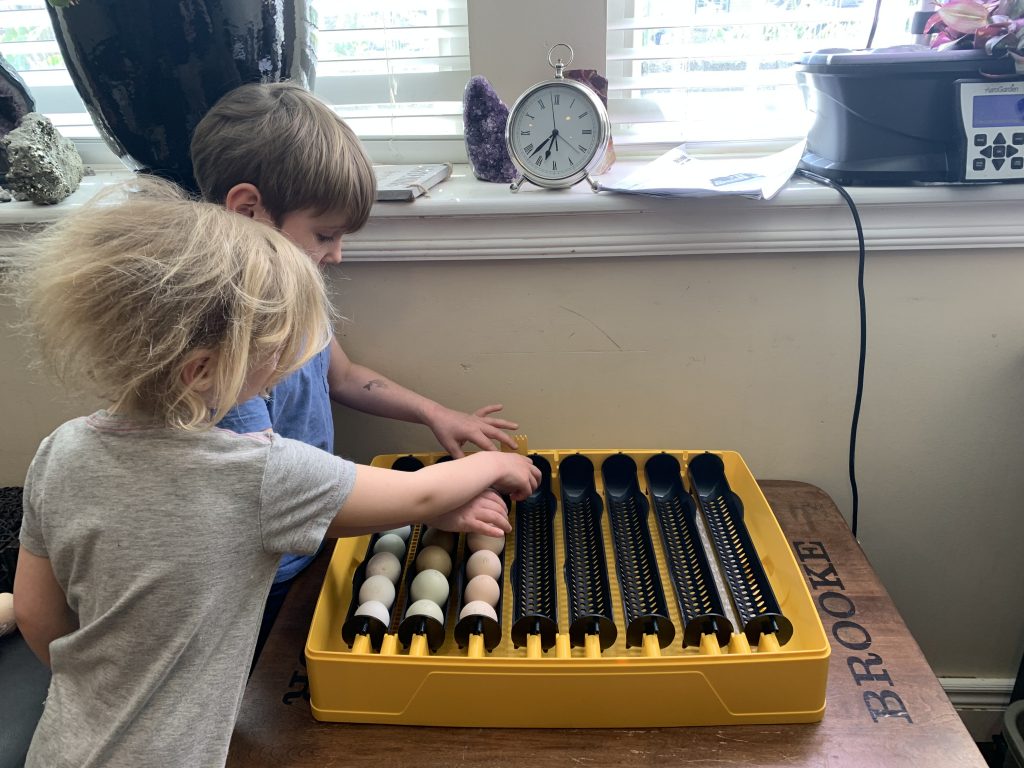
I don’t know exactly what I was thinking, but since there were 56 spaces, I figured fill them all! Luckily, one of our lovely neighbours, Tatiana from Hugging Roosters Farm sells hatching eggs. We’ve been to her farm a couple of times and I knew I was in love with her Cochins. The Cochin’s feathers cover them from head to toe and, with their gentle nature, I was smitten. I also really wanted coloured eggs. My friend Becca from Yellow Point Farms helped convince me that a bunch of breeds can be a lot of fun! So, I told Tatiana to send me an assortment of whatever eggs she thought would be a great fit for us.
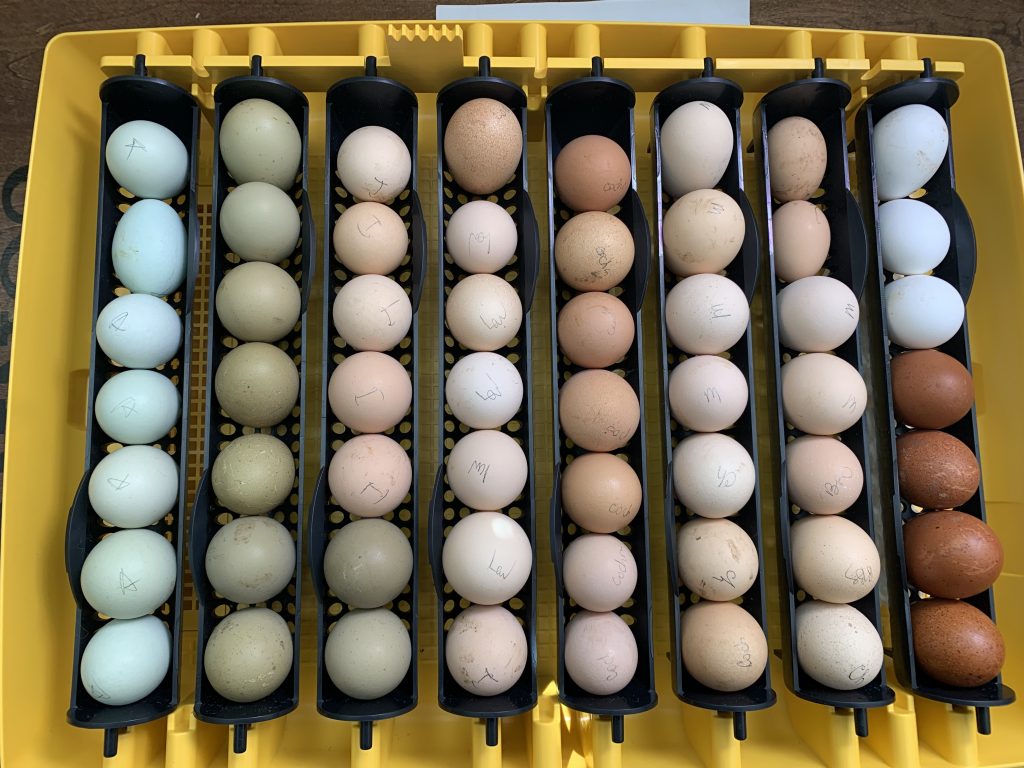
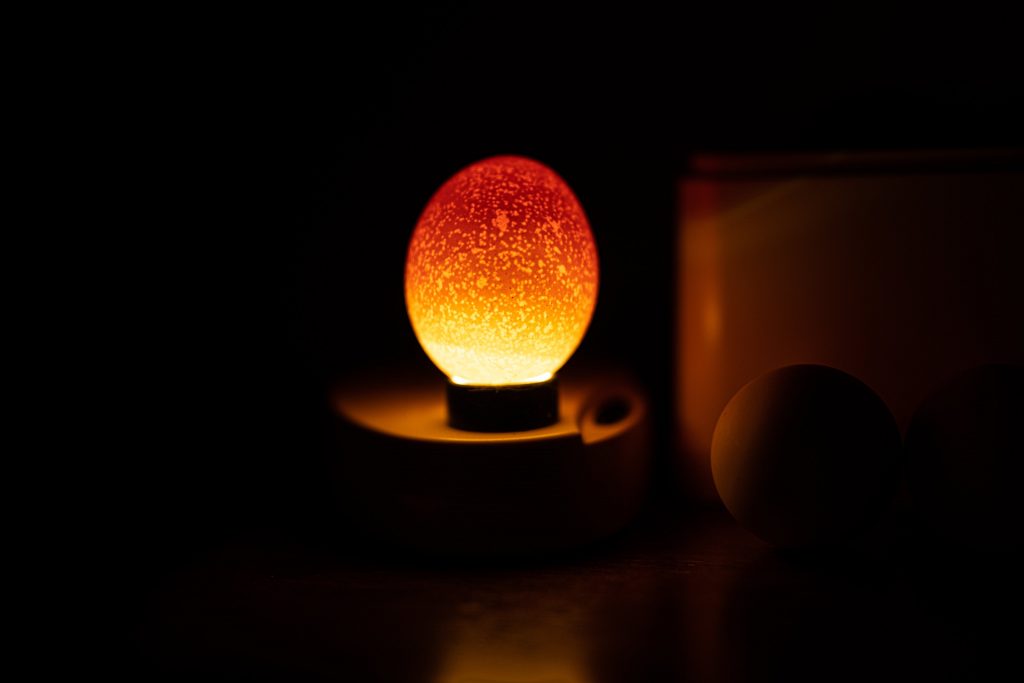
The eggs were so beautiful that we decided to do a quick photo shoot with them, as we were not going to get a chance for many more months.
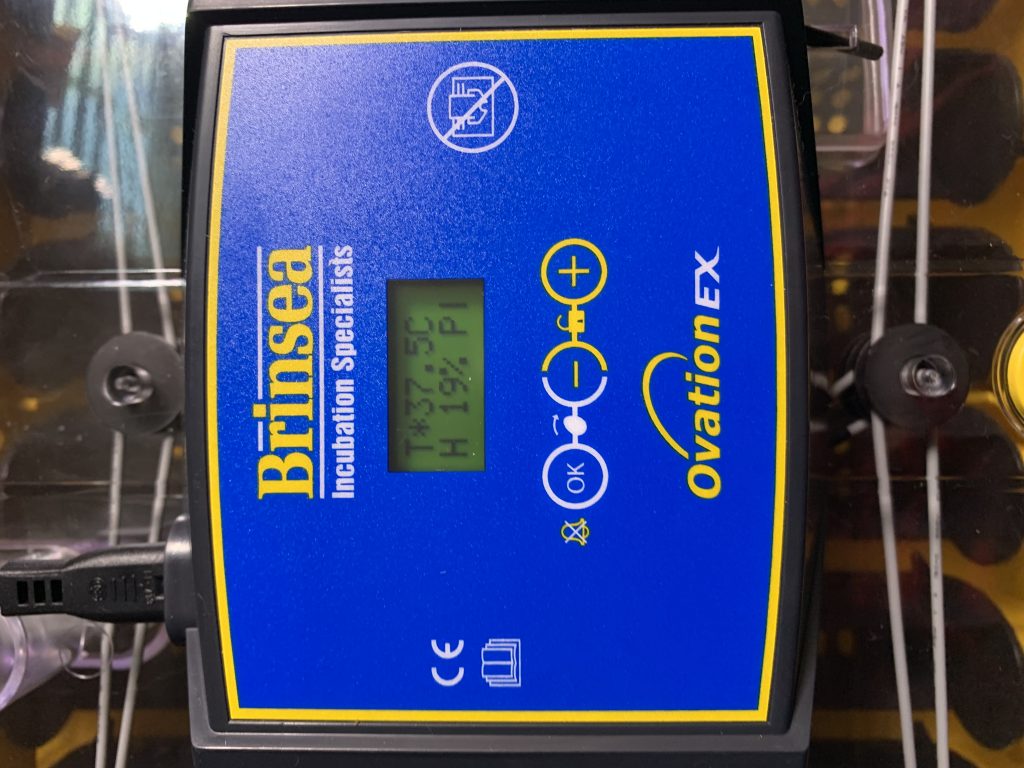
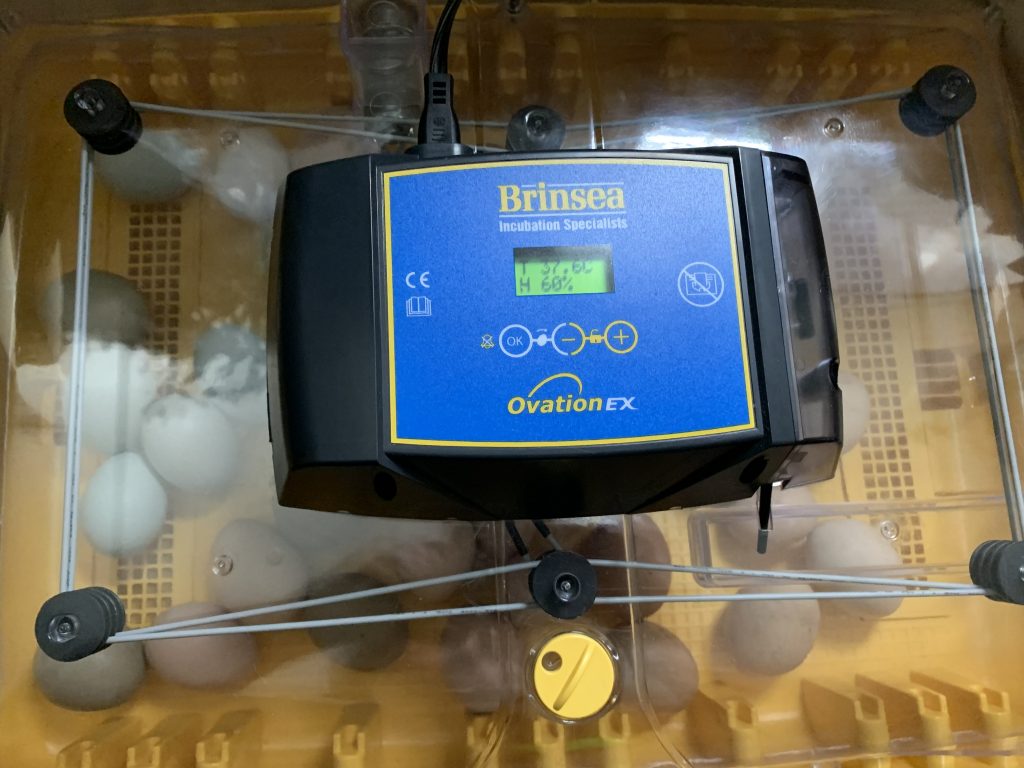
Once we were sure the temp of the incubator was holding steady, (37.6C) we popped all the eggs in and began impatiently waiting. At Tatiana’s suggestion, we decided to do a dry run as it’s quite wet in our bio region climate.
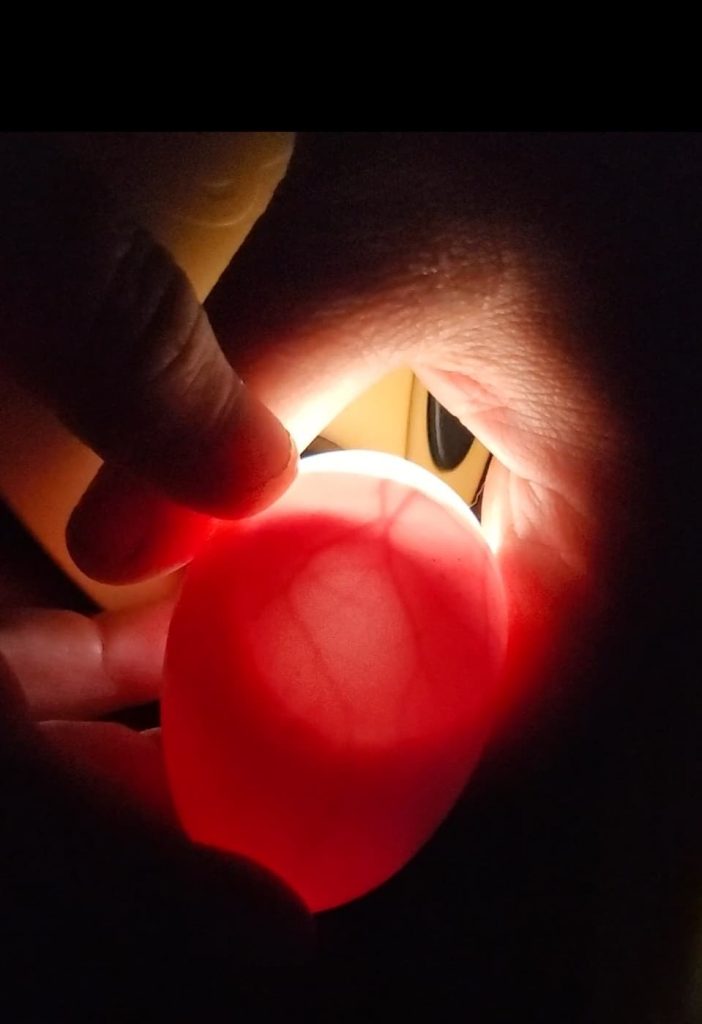
After a few days, I began to candle the eggs. Even after watching a bazillion YouTube videos, I was afraid of misjudging eggs that didn’t make it and I wanted to be sure they were actually not viable and not just a rookie mistake.
We candled the eggs a number of times over the weeks to check on their progress. We all found this part absolutely fascinating. At first there were veins, then you could make out the heart beating and eventually even see the chicks moving around. It was easiest to check progression on the white eggs, whereas the rich dark chocolate Marlan eggs were pretty much impossible for my newbie eyes.
Unfortunately, Connor accidentally knocked one guy that we absolutely knew was viable off the candler and cracked the egg. This was really tough on a 6 year old’s heart strings. Since the membrane didn’t crack, we decided to give it a chance.
When we got to the lockdown stage of the incubation process, we candled for the very last time and then placed the viable eggs on the floor of the incubator. For the eggs that seemed not viable, or that I was unsure of, we did the float test. The float test is where you put the egg in a warm glass of water and see if there is any movement. But you have to move quickly to be sure you don’t drown the chicks as eggs are porous. If I saw them move we knew they were viable and I put them back in the incubator. There were a few I couldn’t figure out at all, so I put them back in the incubator just in case before starting lockdown.
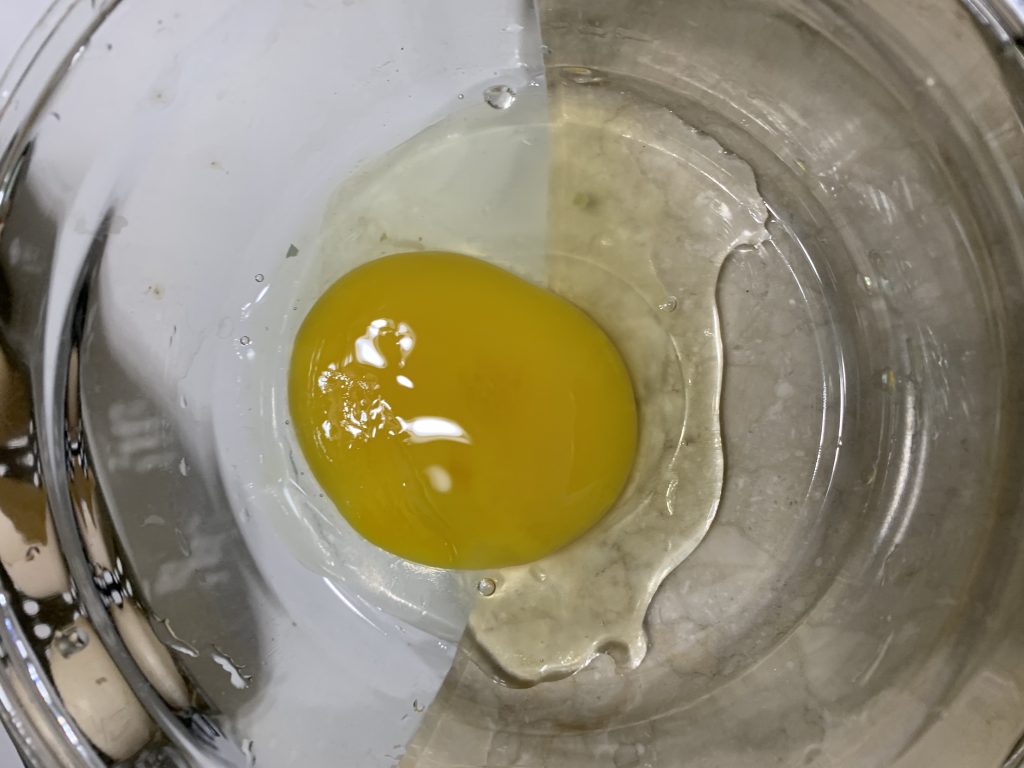
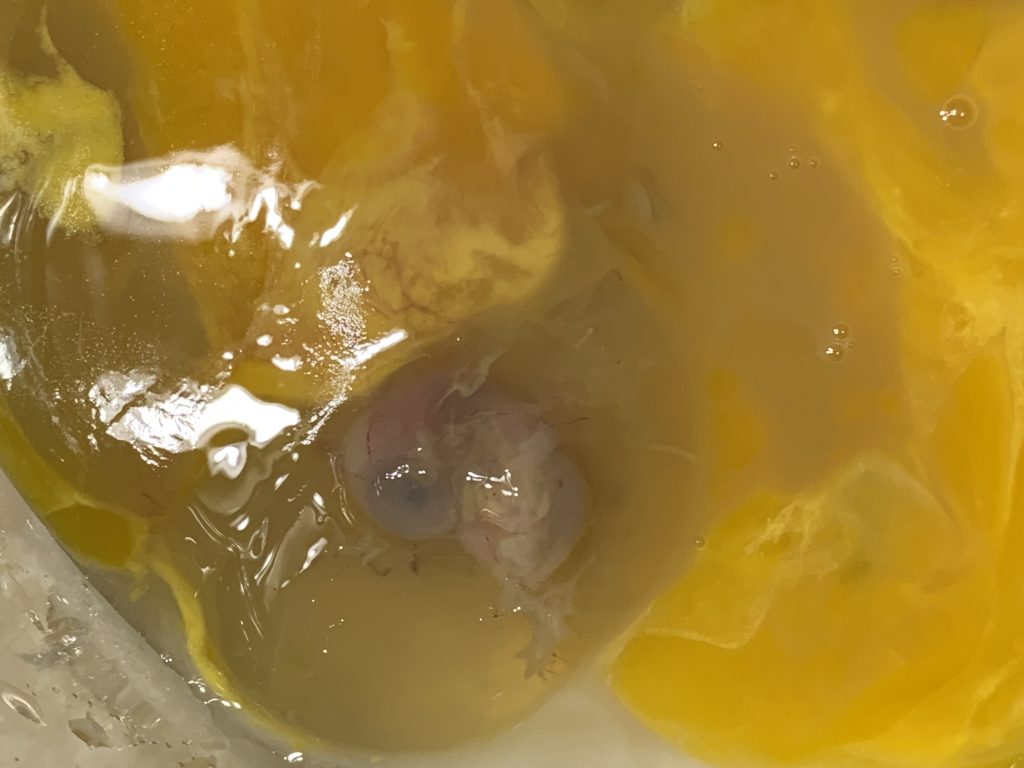
We removed 16 of the 56 eggs, leaving us with 40 chances for chicks! We weren’t sure what happened to the ones that were not viable so Connor and I cracked each one open to see what happened. I know this sounds a little morbid, but it was a great learning opportunity for both of us. Many eggs honestly looked like you could eat them, perfect yokes. A couple caused us to gag a little because of the smell, certainly glad we removed those before we cranked the humidity! Egg bombs would not have been pretty.
Warning: some graphic (but cool) images below!
In one egg, we could see the early development of an embryo, which was really interesting.
First, one of the chicks in a Maran egg started to roll around and move his little egg. We were sure he was going to be the first one to hatch.
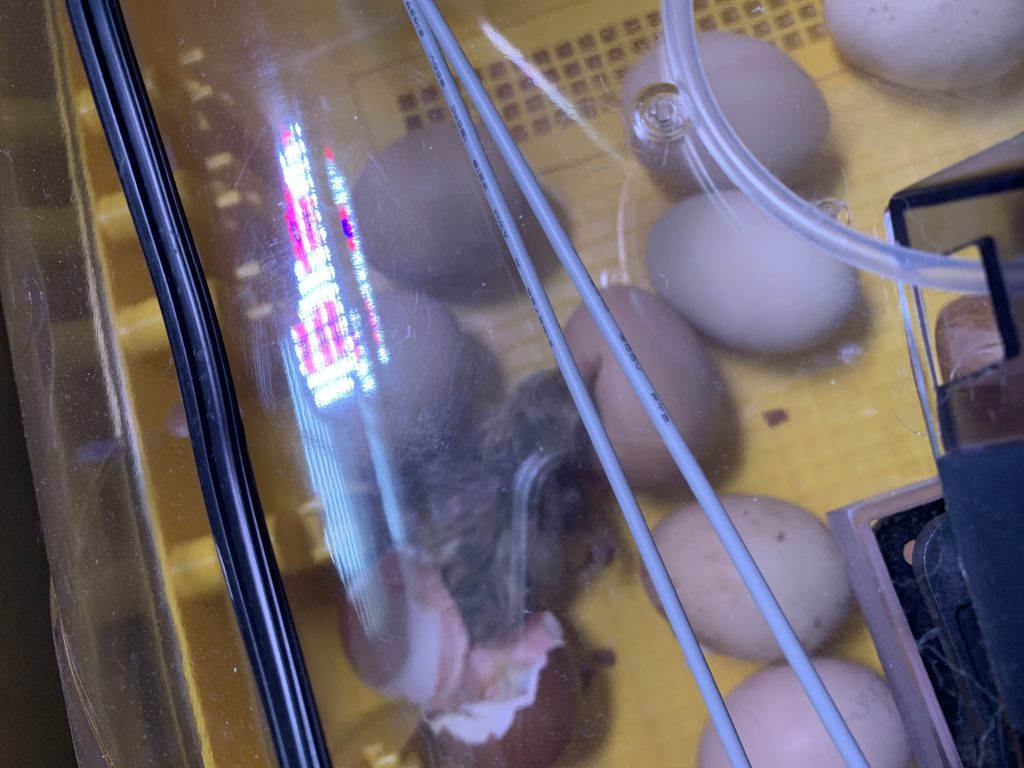

Well, one thing that I didn’t realize–which should probably be very obvious–is that not all chicks hatch on day 21. Egg hatching is not like popcorn–it can be quite a long process. But we were definitely glued to the incubator and it never got old. We were mesmerized.
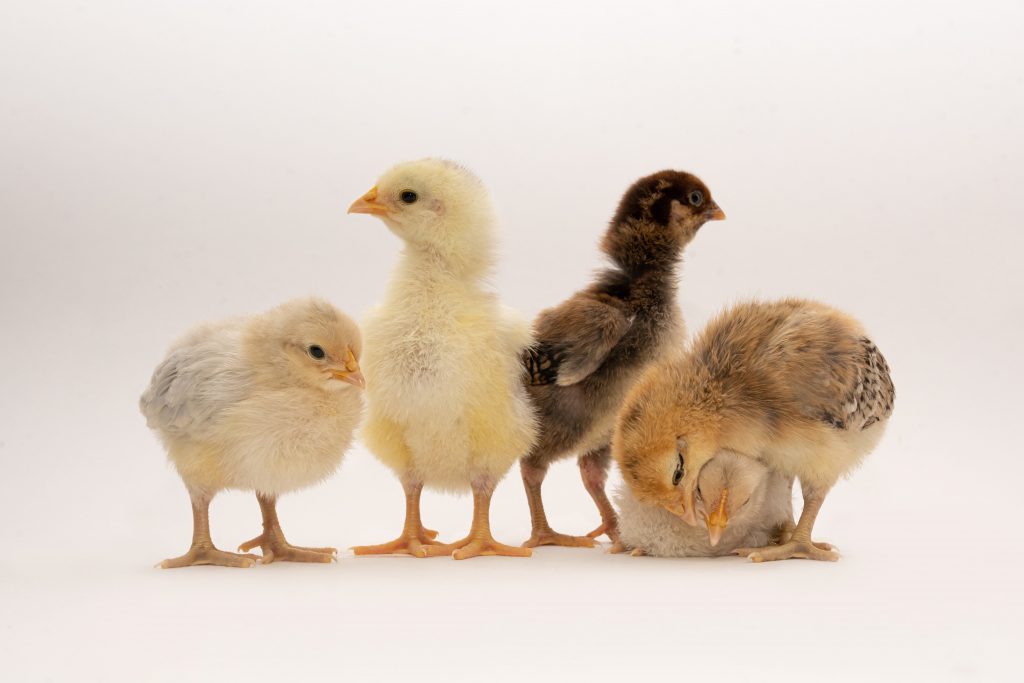
Out of the 40 fertile eggs, 35 hatched! Though it wasn’t a great hatch rate, it was our first time and we might have done something wrong. Next time, we will be more efficient and faster while candling etc. I also think the humidity was way too low just before they started to hatch, but I won’t know until I do this all over again. The five that didn’t hatch were fully formed, so at least we figured out how to candle properly. They might have been too weak to make it out of their shell. I did save one chick that was 3/4 out of her shell but just couldn’t seem to push her way out. That one is still thriving. Also, remember that egg that Connor felt so bad about cracking? Well, that little Leghorn is doing great!!! Unfortunately, three of the little chicks did not make it, one chick’s eggshell was broken by the other chickens before it absorbed the yoke, and the other two chicks were very tiny. So we now have 32 out of our 56 eggs! Since they currently live in our family room, we can safely say that is enough! Now let’s just hope we have more hens than roos!
Once all the chicks were hatched and, most importantly, dry, we put them all in the brooder where they will stay over the next month or so. Thankfully the weather is warming up, so we will be able to put them outside in a few weeks.
This is the Brinsea egg incubator we bought, if you would like to check it out.
This was written by Becky with help from Connor for his grade 1 project!
Becky is a Clinical Hypnotherapist, Registered Holistic Nutritionist, Landscape & Production Horticulturist, Arborist and budding Herbalist, who recognizes and specializes in the link between healthy soil, the gut and the brain. She also loves being the mom to her two wild and crazy kids Brooke & Connor whom keep her and her ever loving, creative husband Jay on their toes.
Becky is a Clinical Hypnotherapist, Registered Holistic Nutritionist, Landscape & Production Horticulturist, Arborist and budding Herbalist, who recognizes and specializes in the link between healthy soil, the gut and the brain. She also loves being the mom to her two wild and crazy kids Brooke & Connor whom keep her and her ever loving, creative husband Jay on their toes.
Design by NXNW.


Danceanu Gabriela
March 4, 2024 at 2:32 pmHello! Do you have Sebastopol goose eggs? I would like to buy, I m from Romania. thanks.